How to Install, Wire, and Connect Your New Electric Cooker in 10 Detailed Steps
Carrying out a professional electric cooker installation is an exciting milestone when updating or modernizing your kitchen. Whether your old kitchen range finally gave up after years of daily meal preparations, or you are undertaking a complete aesthetic overhaul, bringing a new appliance into your home transforms your cooking space.
However, unlike standard household electronics—such as a microwave, toaster, or television—that simply plug directly into a standard ring main wall socket, an electric cooker demands a high level of preparation, rigorous safety compliance, and precise technical execution. Because these appliances pull substantial electrical currents to generate intense heat, understanding the exact wiring process is crucial.
If you want to understand the complete end-to-end process, here is an in-depth, professional 10-step guide detailing how to safely perform an electric cooker installation, wire, and connect your new appliance while keeping your kitchen fully up to standard.
1. Power Rating and Circuit Check for Electric Cooker Installation
Before you even think about sliding your old cooker out or unpacking your new one, your very first step must be an inspection of the appliance’s product specifications.
- Amp Rating Verification: Check your new cooker’s manual to find its exact amp rating and total wattage consumption.
- Circuit Compatibility: Most modern freestanding electric cookers require a dedicated 32-amp fuse and cannot run on standard kitchen ring circuits.
- Load Assessment: Verify that your kitchen’s existing circuit infrastructure is fully equipped to handle this intense electrical load safely before moving forward with any installation steps.
2. Understand Part P Regulations and Legalities
Electrical safety is heavily regulated, and for good reason. In the UK, major electrical circuit installations fall strictly under Part P building regulations.
- Notifiable Work: If your kitchen setup requires you to install a brand-new electrical circuit from scratch, this is categorized as notifiable work and legally must be handled by a qualified, certified electrician (you can check guidelines on the official UK Government Building Regulations portal).
- Like-for-Like Replacements: On the other hand, if you are performing a straightforward, like-for-like replacement utilizing an already existing, fully functioning circuit and cooker control unit, you are legally permitted to carry out the wiring yourself if you possess the necessary competence.
3. Isolate the Power at Your Consumer Unit
Never, under any circumstances, attempt to perform electrical work while live current is present in the lines. Safety must always come first during an electric cooker installation.
- Locating the Breaker: Walk over to your main consumer unit (frequently referred to as the fuse box) and locate the specific circuit breaker switch that governs your kitchen cooker.
- Lockout / Tagout: Flip that switch firmly to the “Off” position. To ensure absolute safety against accidental activation, place a prominent warning tag, note, or secure piece of electrical tape over the switch so no other household member flips it back on while you are elbow-deep in wiring.
4. Verify a Double Pole Isolating Switch
When dealing with heavy-duty kitchen hardware, standard switches simply will not cut it. You must inspect your wall connection setup.
- Double Pole Requirement: Ensure your kitchen features a proper double pole isolating switch rather than a standard single-pole wall switch.
- Handling Feedback Currents: Because high-power cookers draw massive amounts of energy during operation, they can occasionally cause feedback loops or energize neutral wires.
- Complete Severance: A certified double pole switch completely disconnects both the live and the neutral pathways simultaneously, guaranteeing absolute safety when you switch it off for maintenance.
5. Select the Right Cable Thickness
The connection cable acts as the bridge between your home’s power supply and your appliance. Choosing the wrong gauge can lead to overheating.
- Pre-Wired Check: Inspect your appliance package to see if a suitable power cord was supplied by the manufacturer.
- Choosing Heat-Resistant Wire: If none was included, you must select a specialized heat-resistant cable. For standard domestic electric cookers, a heavy-duty 6mm or 2.5mm twin-and-earth heat-resistant cable is typically required.
- Manual Reference: Always consult your appliance manual to perfectly match the exact core thickness and current rating recommended by the manufacturer.
6. Maintain Proper “Hot Zone” Clearances
The layout of your kitchen matters immensely when introducing a high-heat appliance. The space directly above and surrounding your appliance is formally known as the “hot zone”.
- Clearance Essentials: Ensure this vertical and horizontal space is entirely free from flammable materials, wooden shelving, exposed cabinets, or overhanging decorative wallpaper.
- Distance Rule: Maintain a strict minimum clearance gap of at least 300mm between your cooker and any adjacent units, counters, or kitchen fittings.
- Protecting Finishes: If you recently refreshed your kitchen surfaces with professional painting and decorating, keeping these hot zones clear protects your fresh paint and trims from continuous heat stress and grease accumulation.
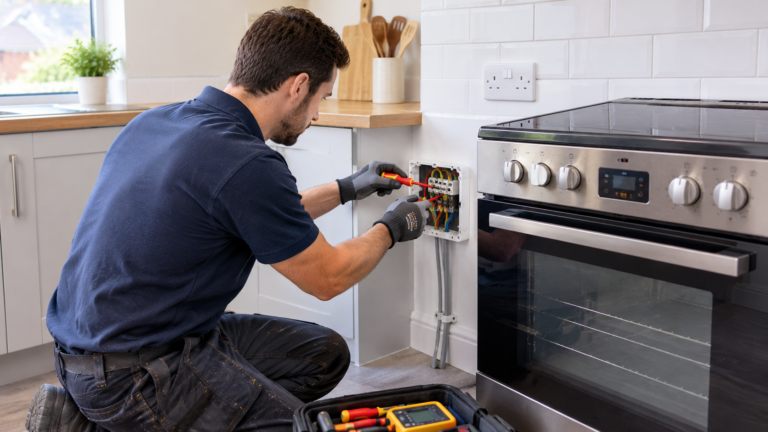
7. Access the Rear Terminal Block for Electric Cooker Installation
Preparing the physical placement of the appliance requires care to protect your home environment.
- Floor Protection: Lay down a protective vinyl sheet or thick cardboard runner across your kitchen flooring before sliding the old cooker out to prevent scratching your tiles, laminate, or hardwood floors.
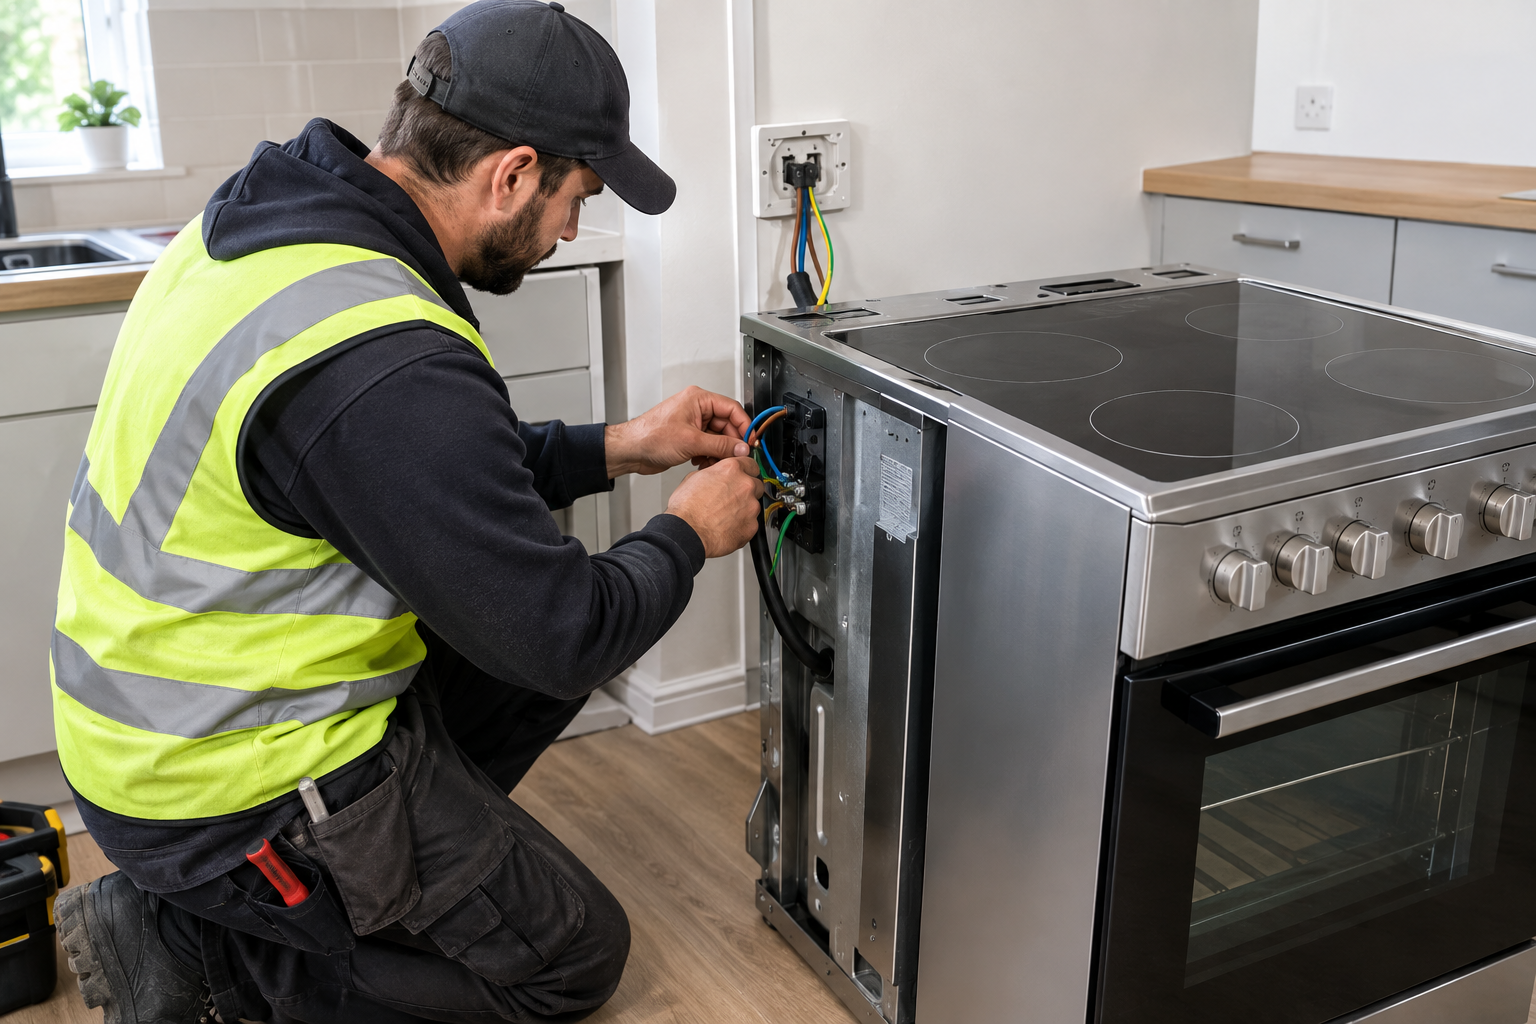
- Locating the Access Panel: Position your new cooker near its final spot and locate the terminal access cover plate situated on the lower rear panel of the appliance.
- Exposing Terminals: Unscrew this protective plate to expose the internal wiring block where the live, neutral, and earth terminals sit.
8. Securely Connect and Lock Your Wires
This is the most critical technical phase of the proper electric cooker installation. Precision here prevents catastrophic failures.
- Stripping Insulation: Carefully strip back the outer sheath of your cable insulation to reveal the three core internal wires.
- Terminal Mapping: Secure each wire tightly into its designated slot:
- Connect the Brown (Live) wire securely to the right-hand terminal.
- Connect the Blue (Neutral) wire securely to the left-hand terminal.
- Connect the bare copper Earth wire (which must be sleeved in a green-and-yellow protective tube) to the central grounding terminal.
- Tightening Standards: Tighten every terminal screw firmly. Loose contacts create electrical resistance, which rapidly generates dangerous heat under heavy loads. Once secured, re-attach the rear protective cover plate.
9. Confirm a Dead Circuit with a Voltage Tester
Never rely purely on assumptions when dealing with electricity. Before you plug or wire anything into the wall plate, you must verify the state of the circuit.
- Using a Voltage Tester: Take a reliable, professional-grade voltage tester and test the cooker control wall plate.
- Zero-Current Verification: Double-check that the circuit is entirely dead and completely devoid of electrical current. This extra safety buffer ensures you are 100% protected against unexpected shocks or lingering static charges.
10. Perform Stress Testing and Restore Power
With all physical connections locked down tightly without cross-threading any screws, you are ready to bring your kitchen back to life.
- Re-energizing the Circuit: Head back to your main consumer unit and flip the cooker’s circuit breaker back to the “On” position.
- Functional Testing: Turn on your cooker’s controls and test its heating elements and oven functions to ensure it draws power smoothly and efficiently without tripping any safety breakers.
Conclusion & Comprehensive Property Maintenance
Successfully managing your own electric cooker installation gives a great sense of accomplishment if you respect the power involved, double-check your circuit ratings, and follow safety protocols to the letter. However, working with high-voltage electricity is never something to take lightly or experiment with if you have even a shred of doubt.
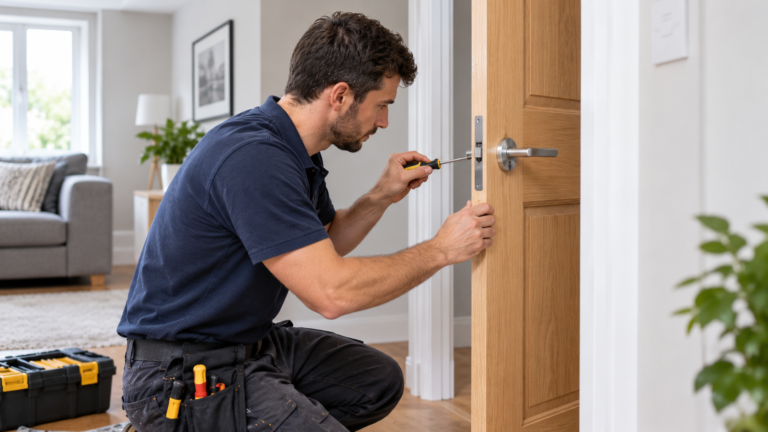
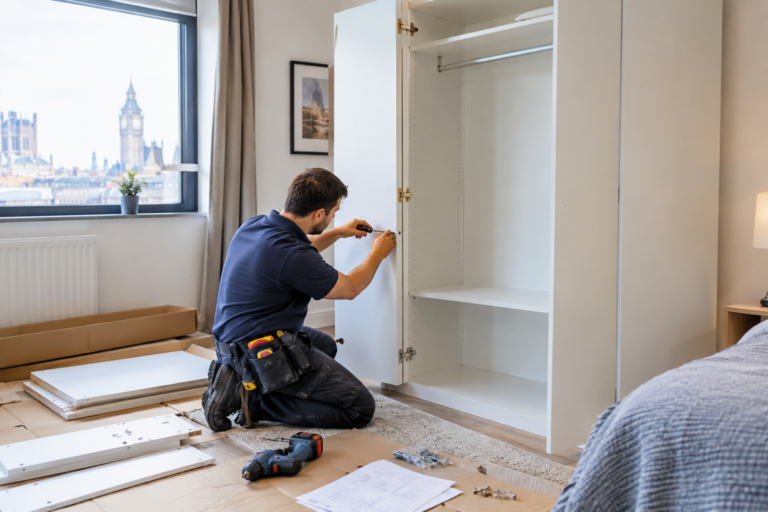
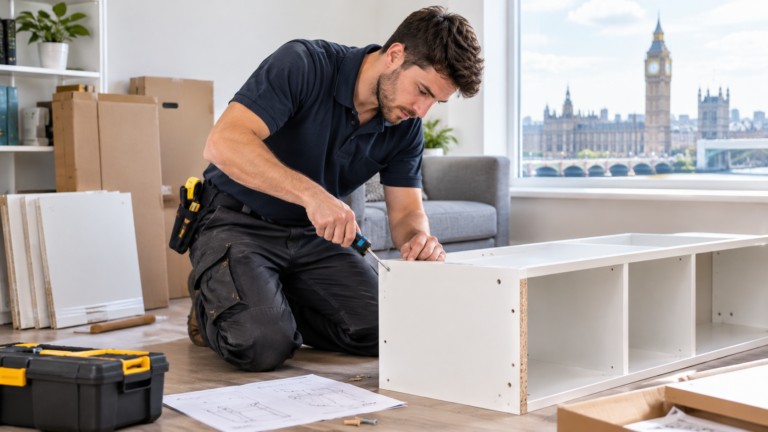
Furthermore, if you are revamping your culinary space, you don’t have to tackle everything alone. While upgrading your kitchen’s electrical framework, you can easily combine your project with other vital home enhancements—such as scheduling minor plumbing repairs for a leaky sink, utilizing expert door repair services for sticking kitchen doors, or hiring professional furniture assembly technicians to put together new flat-pack kitchen breakfast bars and storage units.
FAQs!
Can I plug a heavy electric cooker into a standard 13A wall socket?
No. Electric cookers require significantly more power than standard ring main sockets can provide. Plugging a high-wattage cooker into a regular plug socket will immediately overload the circuit, blow the fuse, and create a severe fire hazard. A professional electric cooker installation always requires a dedicated high-amp circuit.
Do I need a double pole switch if my old switch is single pole?
Yes, UK electrical regulations strongly recommend double pole isolating switches for high-load kitchen appliances like cookers. Unlike single-pole options, a double pole switch completely disconnects both the live and the neutral pathways simultaneously, ensuring absolute safety during maintenance or emergency power isolation.
Can I perform an electric cooker installation myself?
If you are carrying out a straightforward, like-for-like replacement using an existing, fully working circuit and cooker control unit, you are legally permitted to wire it yourself if you have the necessary competence. However, installing a brand-new circuit from scratch falls under Part P building regulations and legally requires a certified electrician.
What size of cable is required for cooker wiring?
For standard domestic freestanding cookers, a heavy-duty 6mm or 2.5mm twin-and-earth heat-resistant cable is typically required. Always consult your specific appliance product manual to match the exact core thickness and current rating recommended by the manufacturer.
What other home maintenance tasks can I combine during a visit?
If you are upgrading your kitchen space, our multi-skilled local team can easily handle additional property improvements during a single visit—such as fixing a leaking tap with minor plumbing repairs
, adjusting sticking doors with professional door repair
services, or putting together new flat-pack storage units via our furniture assembly solutions.